Showing posts with label broderie anglaise. Show all posts

Thursday, 17 November 2011

Day 4 - Intensive PME Diploma - Sugarpaste

Day 4 of the intensive PME diploma and it was such a fun day.
The morning started off with making borders for our 6 inch round cake.  The technique used was Broderie Anglaise.  After cutting out various lace shaped borders, we used eyelet cutters to cut out floral patterns.  What do you think of the border- quite pleased with it and its delicate effect.

After putting the border on, we modeled our bride and groom.  I decided to model an Indian couple and had so much fun doing this. I could have spent the whole day adding little details to make the couple more life like and to add a little character here and there.


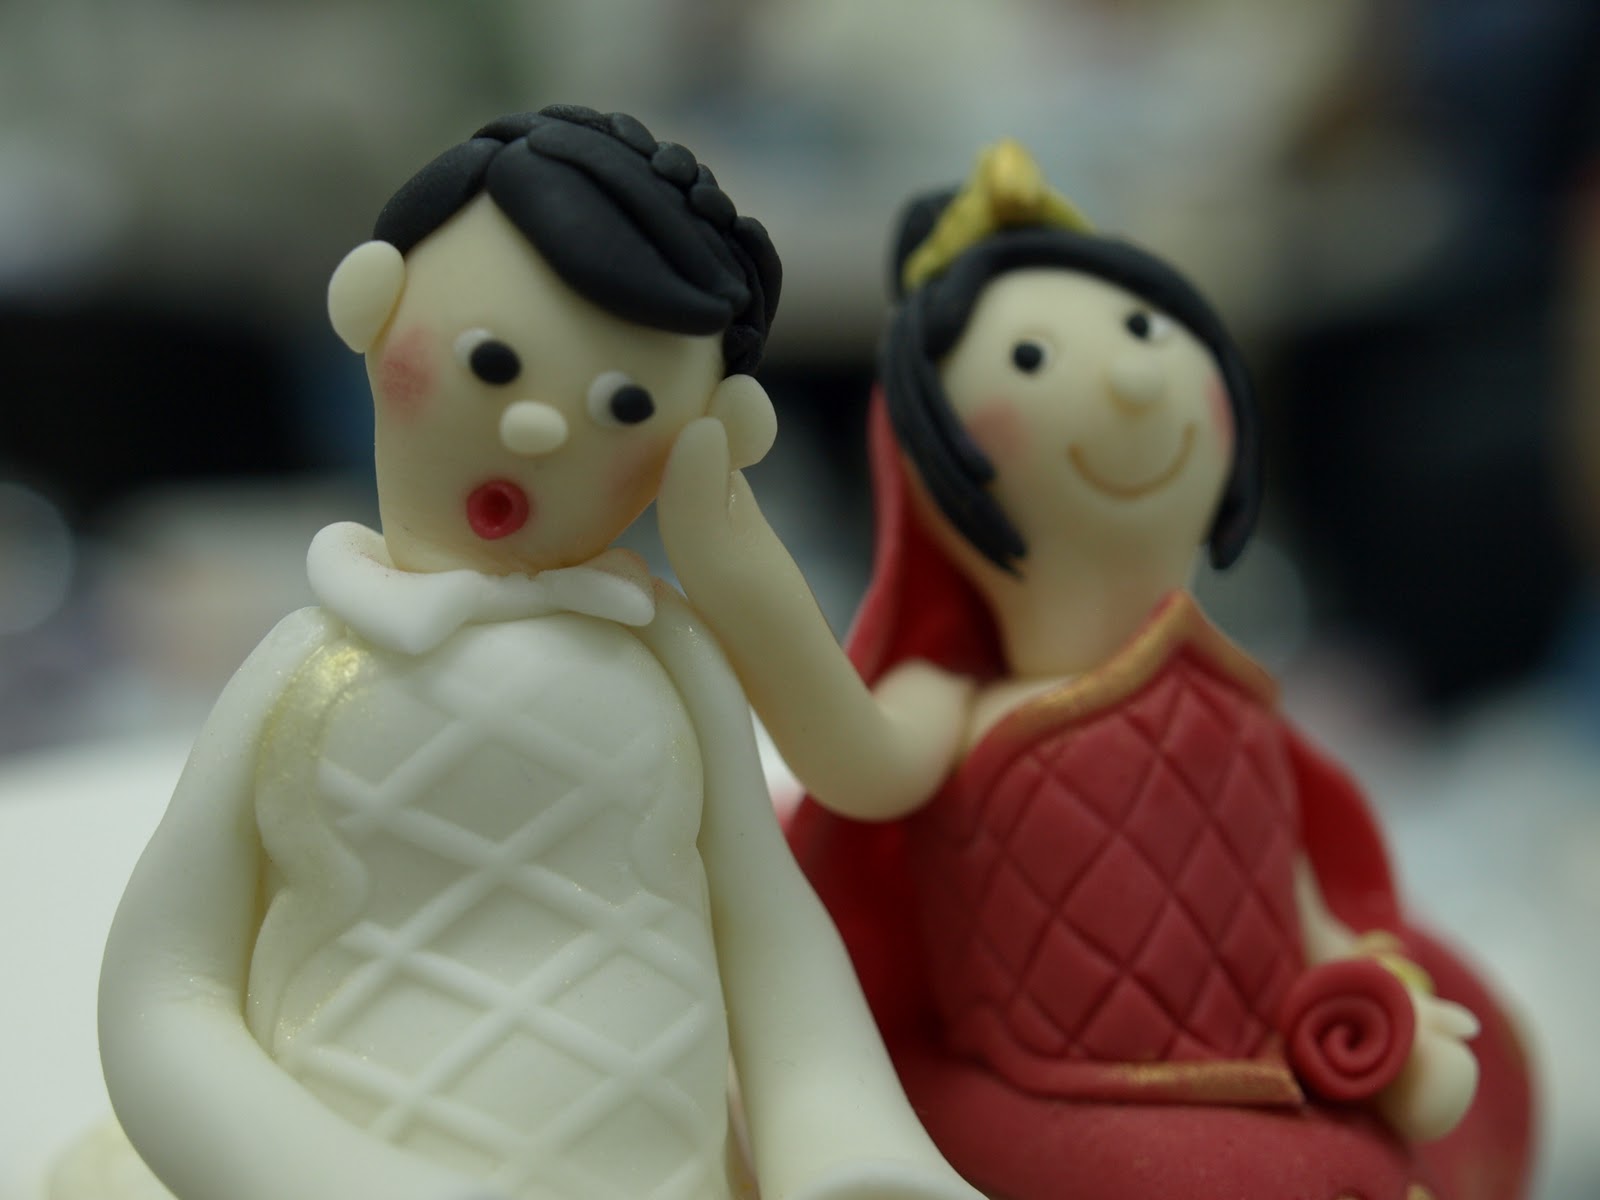


After putting the veil on the brides head, I noticed a bald patch! I quickly covered up with some hair and fixed it up perfectly.

All the students had a great time modeling, one of the students modeled his groom pushing his bride off the cake!  All the creations were great.
Here is the finished result, what do you think?

At the very end of the lesson we started on royal icing.  Tomorrow, we will get to grips with writing and decorating with Royal icing, very much looking forward it as I don’t work much with royal icing.

Check back in tomorrow for Day 5 and pictures J

Wednesday, 16 November 2011

Day 3 - Intensive PME Diploma - Sugarpaste

Day 3


Day three of the intensive PME diploma.


The morning started with us finishing off the bass relief clown that we started yesterday afternoon.  Bass relief is basically where sugarpaste is modelled to appear raised.  I don't see much of this technique anymore because most people people now days just use moulds.  Moulds are much more intricate these days and 10 times quicker.


Here is a picture of my bass relief clown - don't really like this technique, I think that moulds do a better job.


The next part of the lesson was making a tiered wedding cake.  I must say, this has been the most enjoyable part of the course so far.  


We worked with dummy cakes and first learnt how to cover our square cake. After covering the square cake we covered the board and put a textured pattern around the outside edges of the board.


The textured effect on the edges of the board gave a lovely fabric effect which I will be definitely trying again.


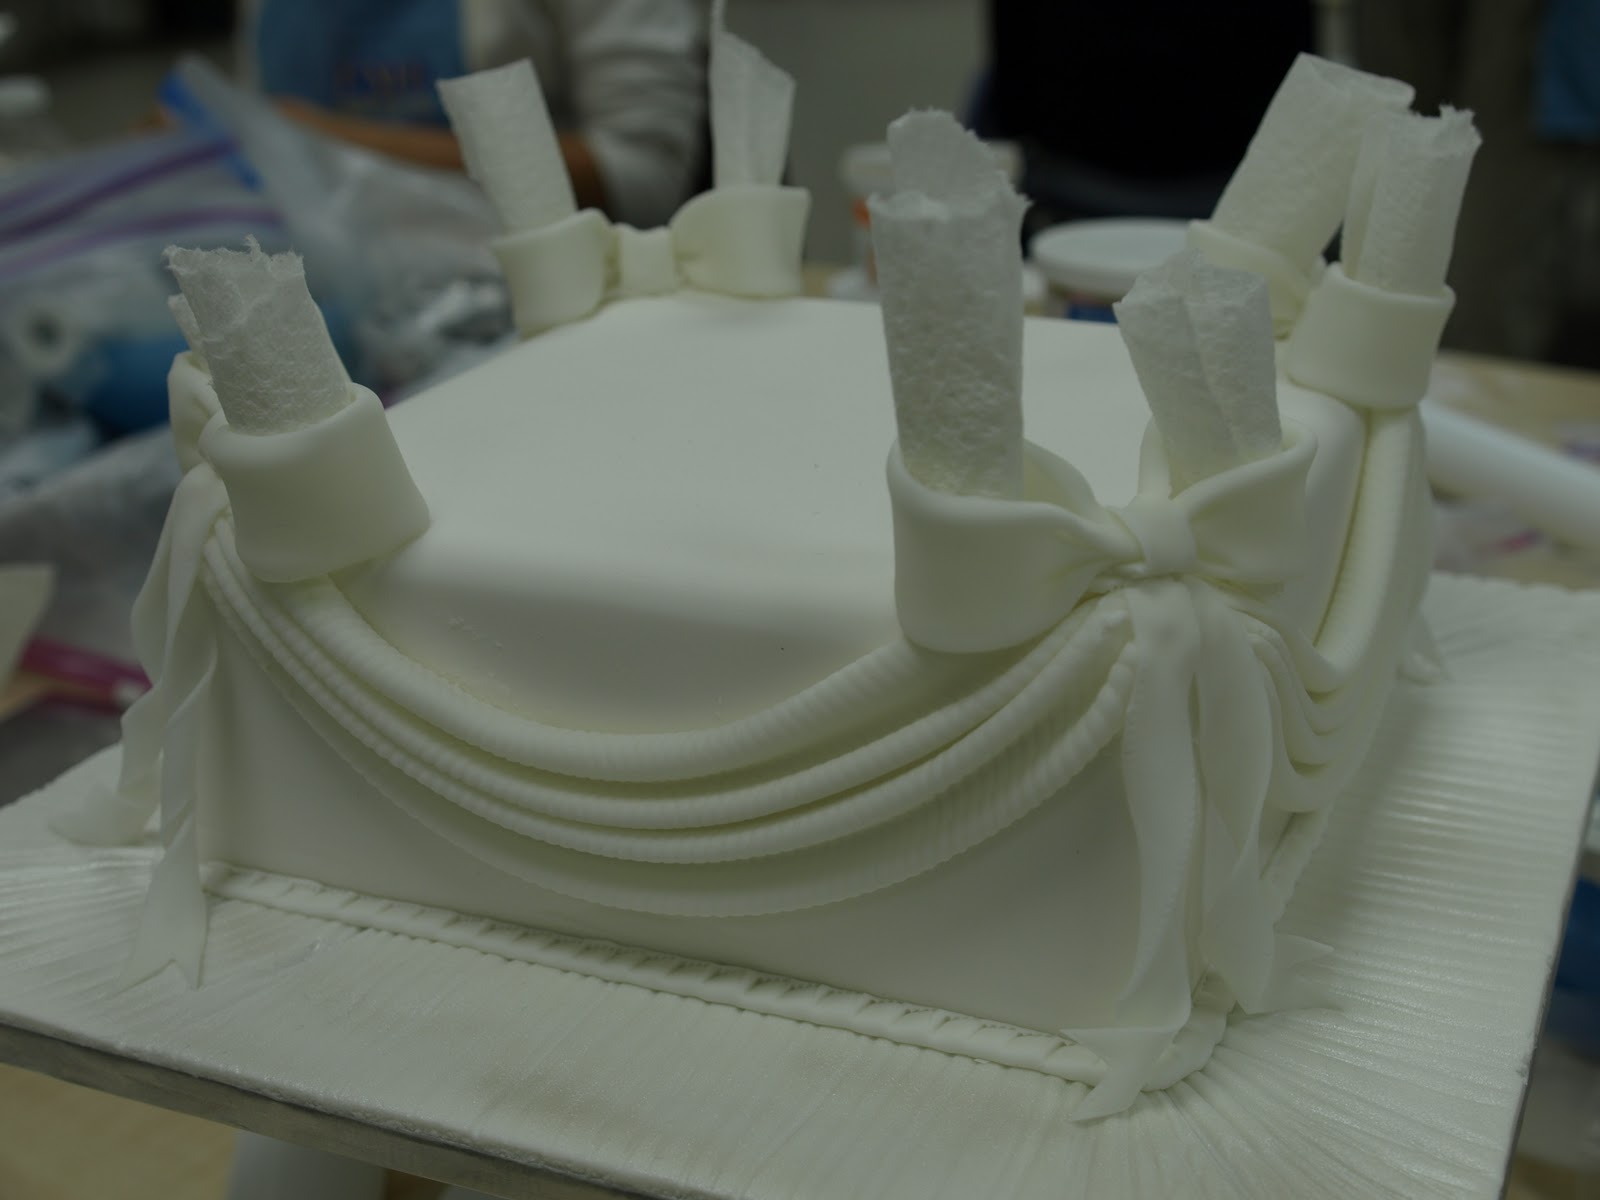
After this step, we started making swags for the sides of the cakes.
Here is a picture of one of my swags- quite pleased with it!


After making 4 swags, we started on the bows for the corners of the cakes, perfect for hiding the messy overlapping corners!


The rolled kitchen roll was used inside of the bows to help hold the shape.
We then placed an iced circular cake on top.


In class today we also talked about stacking cakes with pillars as well as the different types of pillars available on the market. We also talked about transporting cakes, but will be covering more on transporting later on in the course.


I wanted to show you a picture of the classroom and the demo area where Tony our tutor demonstrates various techniques.  The TVs are brilliant, as Tony is able to zoom in on key parts of demos he does.


Looking forward to finishing off the wedding cake tomorrow where we will also be making a bride and groom and also decorating the side of our circular cake with a broderie anglaise trim.  Broderie anglaise is a lovely lace effect and I will show you pictures in tomorrow's blog.