Day 4 of the intensive PME diploma and it was such a fun day.
The morning started off with making borders for our 6 inch round cake. The technique used was Broderie Anglaise. After cutting out various lace shaped borders, we used eyelet cutters to cut out floral patterns. What do you think of the border- quite pleased with it and its delicate effect.
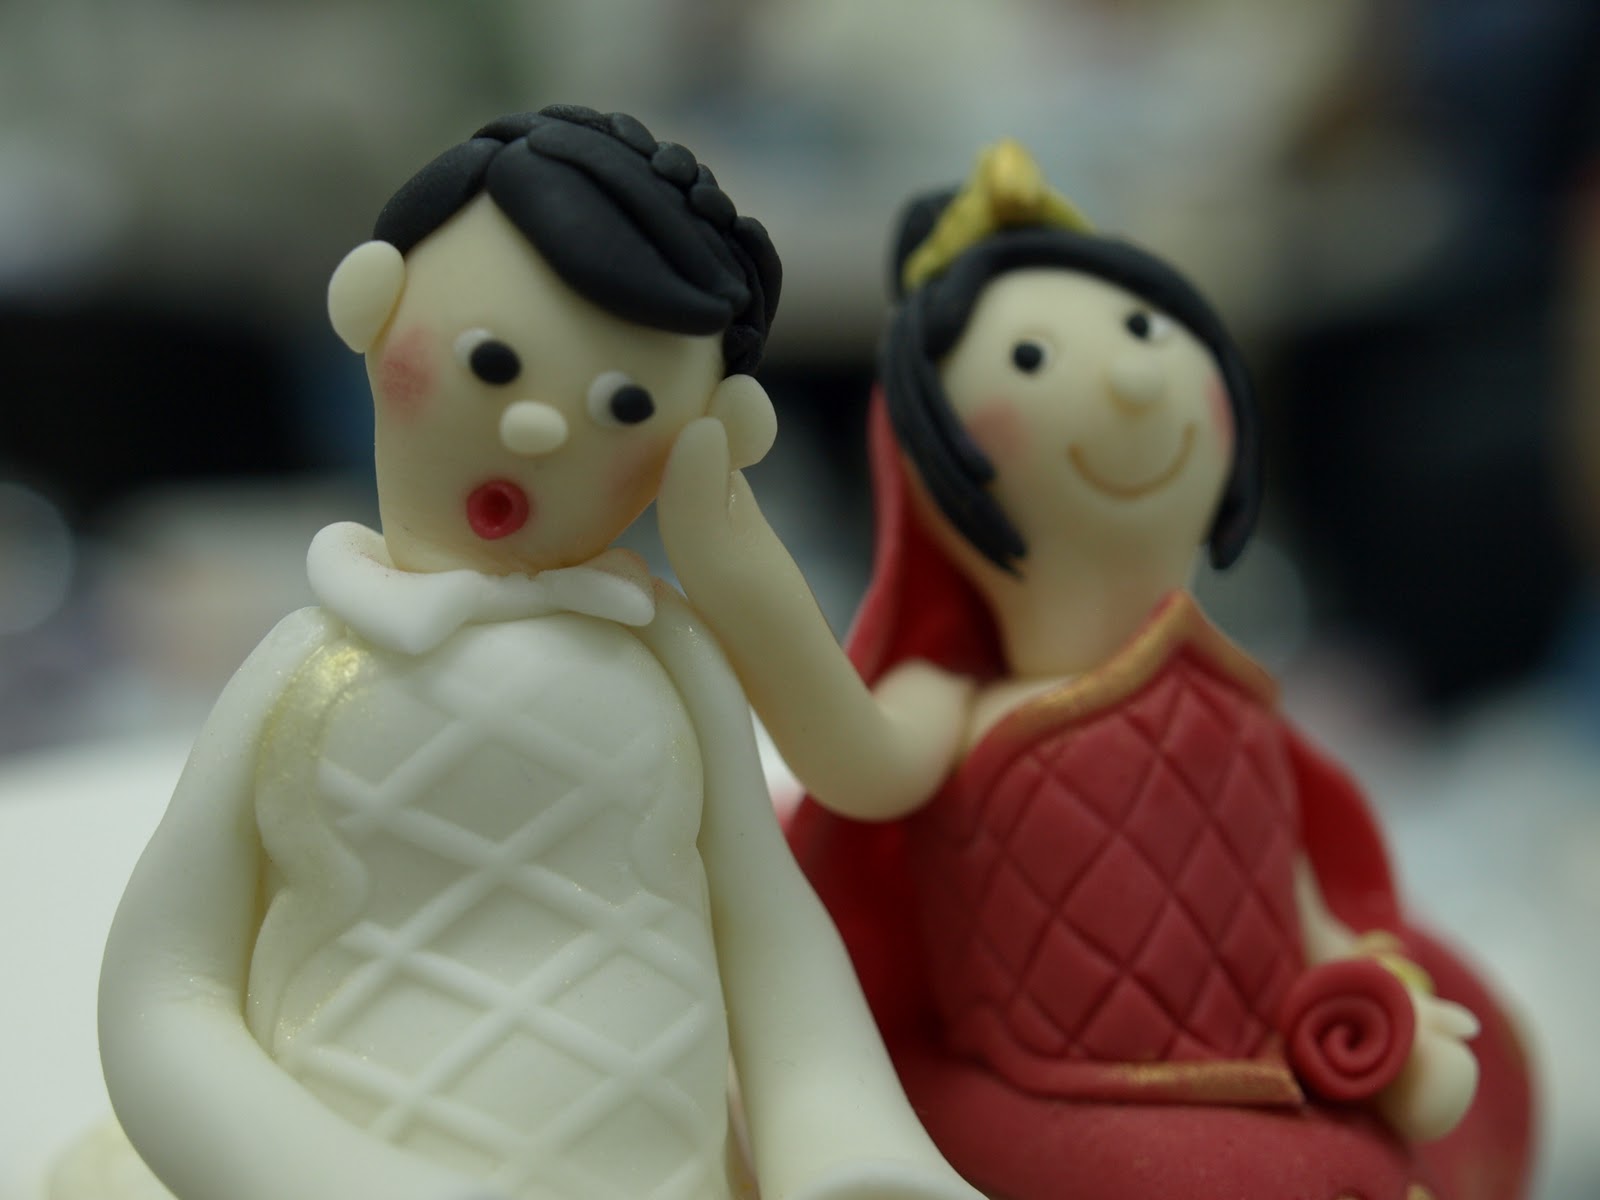
After putting the border on, we modeled our bride and groom. I decided to model an Indian couple and had so much fun doing this. I could have spent the whole day adding little details to make the couple more life like and to add a little character here and there.
After putting the veil on the brides head, I noticed a bald patch! I quickly covered up with some hair and fixed it up perfectly.
All the students had a great time modeling, one of the students modeled his groom pushing his bride off the cake! All the creations were great.
Here is the finished result, what do you think?
At the very end of the lesson we started on royal icing. Tomorrow, we will get to grips with writing and decorating with Royal icing, very much looking forward it as I don’t work much with royal icing.
The morning started with us finishing off the bass relief clown that we started yesterday afternoon. Bass relief is basically where sugarpaste is modelled to appear raised. I don't see much of this technique anymore because most people people now days just use moulds. Moulds are much more intricate these days and 10 times quicker.
Here is a picture of my bass relief clown - don't really like this technique, I think that moulds do a better job.
The next part of the lesson was making a tiered wedding cake. I must say, this has been the most enjoyable part of the course so far.
We worked with dummy cakes and first learnt how to cover our square cake. After covering the square cake we covered the board and put a textured pattern around the outside edges of the board.
The textured effect on the edges of the board gave a lovely fabric effect which I will be definitely trying again.
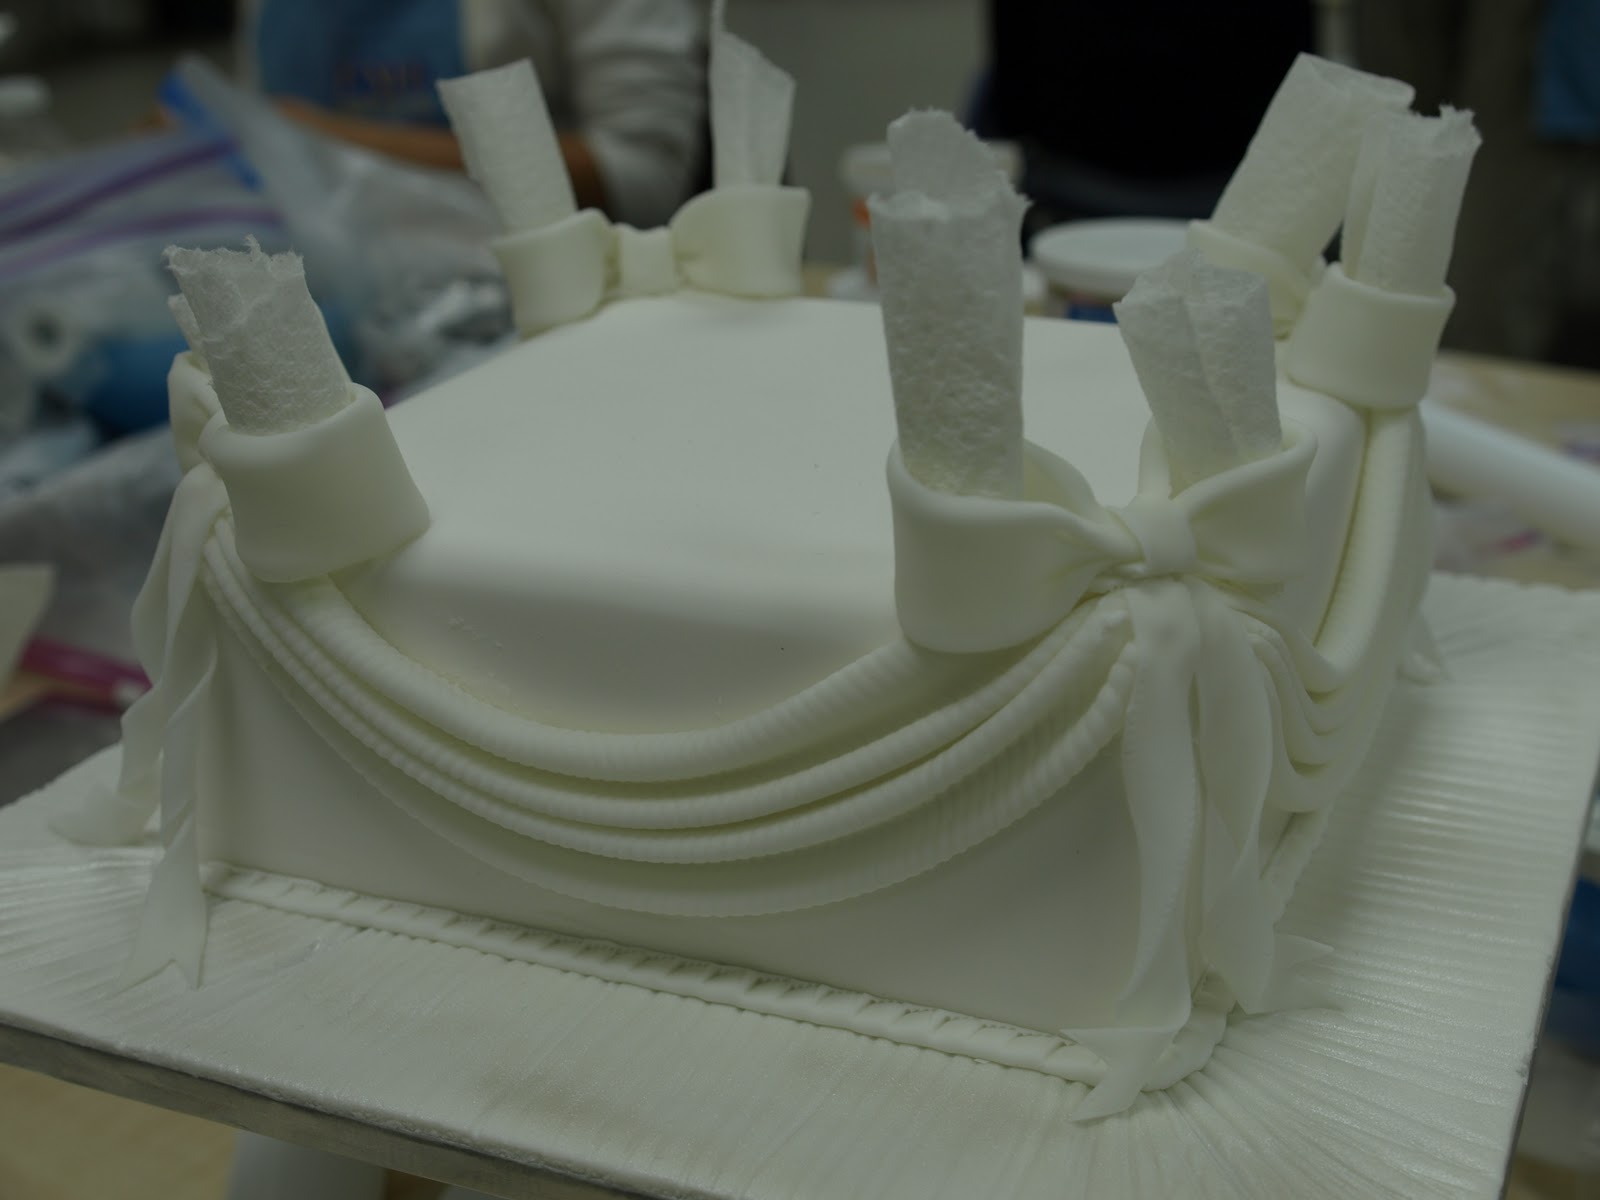
After this step, we started making swags for the sides of the cakes.
Here is a picture of one of my swags- quite pleased with it!
After making 4 swags, we started on the bows for the corners of the cakes, perfect for hiding the messy overlapping corners!
The rolled kitchen roll was used inside of the bows to help hold the shape.
We then placed an iced circular cake on top.
In class today we also talked about stacking cakes with pillars as well as the different types of pillars available on the market. We also talked about transporting cakes, but will be covering more on transporting later on in the course.
I wanted to show you a picture of the classroom and the demo area where Tony our tutor demonstrates various techniques. The TVs are brilliant, as Tony is able to zoom in on key parts of demos he does.
Looking forward to finishing off the wedding cake tomorrow where we will also be making a bride and groom and also decorating the side of our circular cake with a broderie anglaise trim. Broderie anglaise is a lovely lace effect and I will show you pictures in tomorrow's blog.
Day 2 was largely about novelty cakes, but we also covered certain aspects of owning a business.
We covered the importance of health and safety and registering with your council. An interesting thing that I learnt was that council tax goes up if you make cakes from home- costs everywhere!
We then covered off pricing, it was a really good part of the class and the general rule to apply was to add of the cost of ingredients used in each cake and then multiply by 3. Tony also covered off different insurances too which I think a lot of people tend to forget about.
There was very interesting discussion on copyrights on designs and talk of making cakes of Disney animations and various designer handbag cakes. Tony told us about a lady that he knew that was being sued because she made a really good Jack Daniel’s cake. It is really important to ask for permission and where possible to get acceptance to copy a design in writing.
After an interesting discussion about business, we moved onto making our handbag cakes.
We used maderia cake to carve the shape of our handbags and then crumb coated with buttercream.
We then used textured rolling pins to cover the shaped cake with sugarpaste and learnt how to add piping and trims too.
We then sprayed with lustre- not totally happy with the coverage of the spray as I spy patches of white- I am very critical!
After putting finishing touches to the handbag we iced our board and then worked on making a piece of fabric that the bag would rest on.
I felt a bit rushed today, so not totally happy with today’s creation but here is a picture anyway J
Back view
Front view
View of whole cake with bag resting on fabric
We finished the lesson learning about Bass Relief, and made a start on working on a bass relief clown. We will finish tomorrow morning- so will post pictures on the Day 3 blog.
Feeling a little tired today, and it is only Day 2!
Today was Day 1 of the Intensive PME diploma course, 11 days of hard core cake decorating training where I will cover three modules and hopefully achieve a PME diploma at the end of it!
1. Sugarpaste Module
2. Royal Icing and Piping Module
3. Sugar Flower module Module
I booked myself on the 11 day intensive back in June and was really looking forward to it. Although a lot of people are self taught, for me, I have wanted to do some sort of formal training properly for sometime.
I was very surprised at how professional the PME classroom was. The teachers demonstration area was hooked up to a camera which allowed students to see exactly what the teacher was doing on two huge wall mounted plasmas. Each student had their own area with loads of PME equipment.
The class was fully booked and I was so surprised that so many people had flown in from abroad especially for this course. There were students from Nigeria, Sardinia, New Zealand and Milan.
Day 1 started with the Sugarpaste module and was taught by an amazing teacher called Tony Warren.
The first part of the class was to cover a 6 inch dummy cake and learning how to use different textured rolling pins and crimpers to create fabric effects. Do you think crimpers are old fashioned? You don't really see crimpers used on modern cakes anymore.
After covering the cake, we took a part of the top part of the cake out and replaced with a textured cut out.
After that we learned how to use plaque cutters.
I have seen these cutters in shops for some time, but just didn’t know when to use them! I love these cutters now; you can make some really gorgeous designs with them.
Buy lunch we had covered our cakes; covered our boards and created various designs round the sides and the bottom of our cakes.
I was really pleased with my results as this stage. What do you think?
Lunch was provided with the course which I thought was going to be a couple of sandwiches and a bowl of fruit… how wrong was I! Lunch was a hot meal with a lovely selection of breads and salads and desserts- amazing!
After lunch we were taught how to do fabric flowers and leaves as well as small drapes. I was really pleased with my fabric flowers and my little drape J
The last part of the class was making plaques, I thought this part was a bit weird as these plaques were not going on our cakes and was just basically using normal cutters- bit random!
This was the plaque I made.
Overall a really good start to the course- really pleased will my cake and happy that I now know how to do fabric flowers.
Bring on Day 2!
Monday, 24 October 2011
My video on how to use dove cutters properly - Enjoy :)